Nowadays, it is important for people to have an online presence because it enables people to connect with others and also share their talents. There are many ways where one can connect online and showcase their work, from social media to creating small sites like blogs.
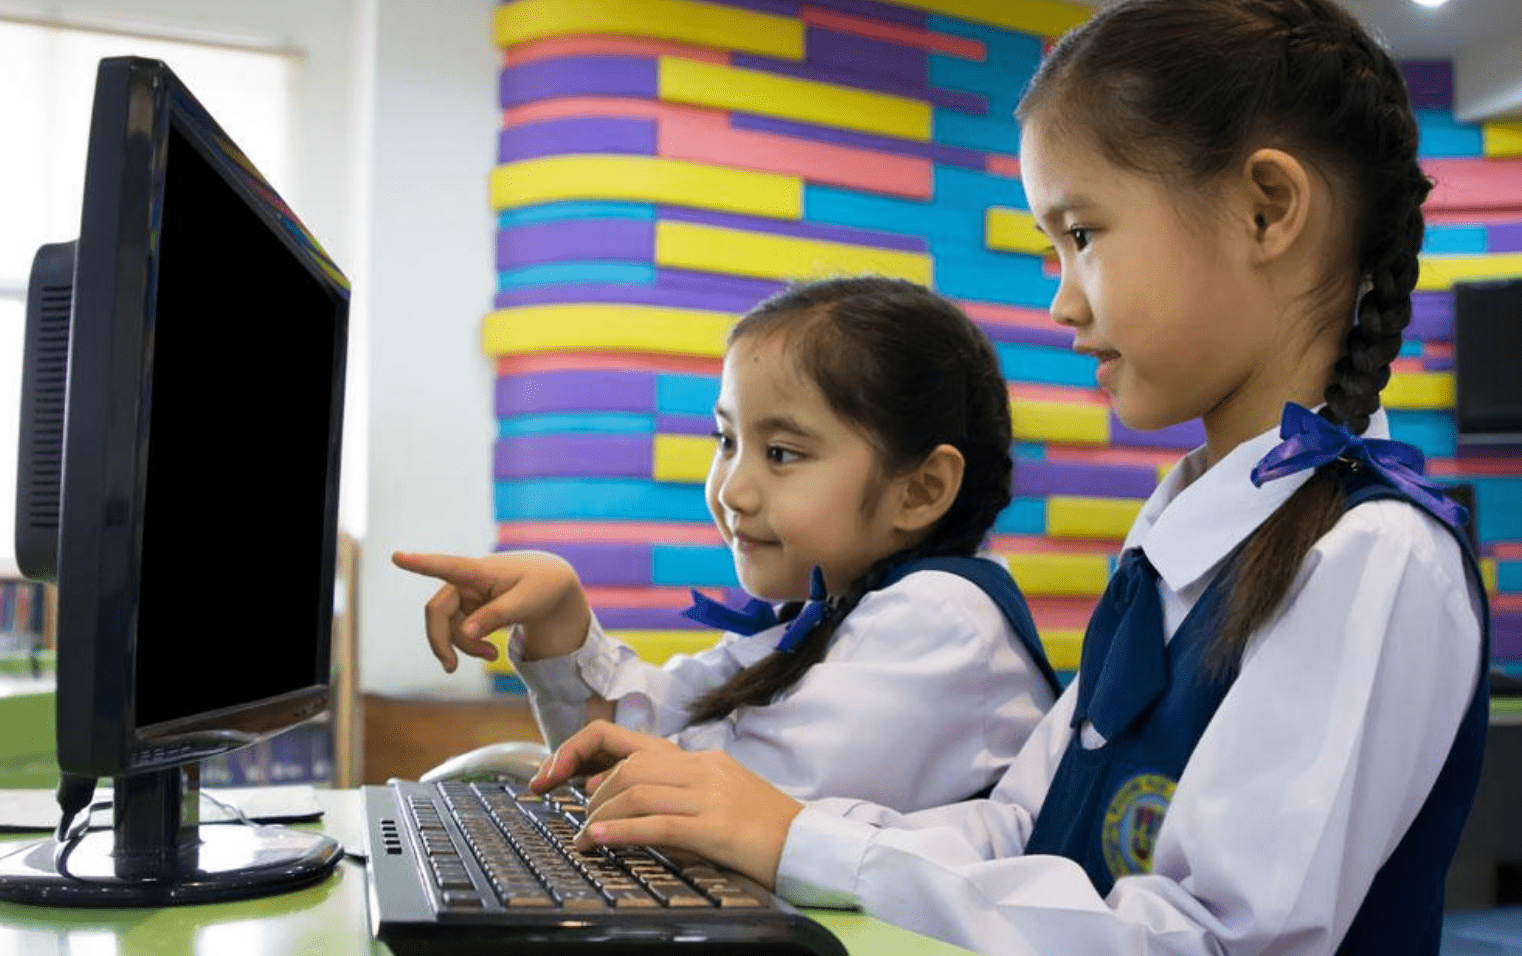
Since these online tools are easy to create and manage, schools are now using these online tools to check their students’ progress by making it their report book for teachers to see and grade.
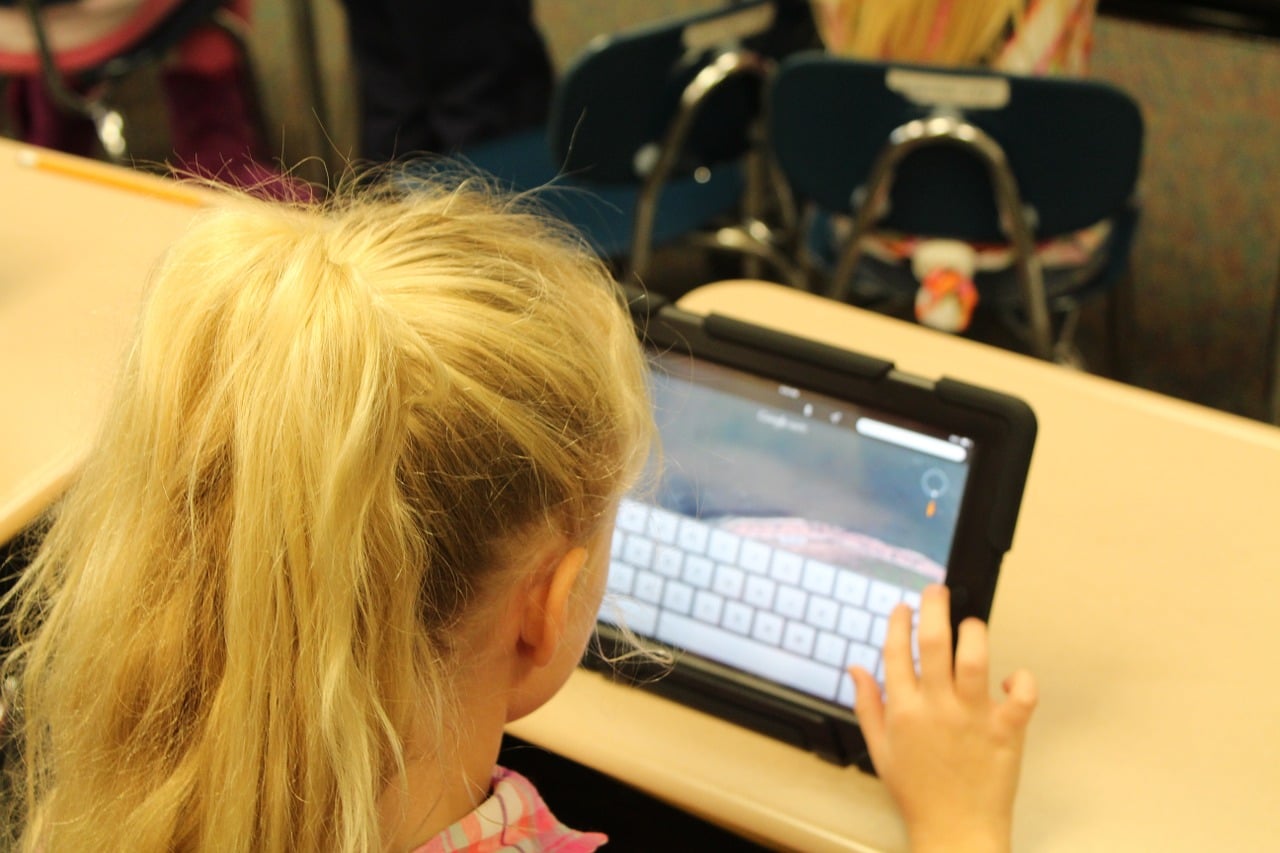
For students learning a new language, using blogs to write personal stories enables students to practice their foreign language comprehension and writing skills. One example was our recent student who took Malay tuition and write 22 short stories on her wordpress blog!
If you’d like to teach your child how to create their own blog, here are the things you need to know about blogging and how to help them create a website fit for their blogging and school projects.
Blogging: A New Way to Write a Diary
A blog is quite simply a small personal website where users can share things they want to share. It can also focus on any topic, used for any purpose and can be updated whenever the user wants. It can also be made private for intimate content or networks.
Blogs can contain many things: from written content, videos to images. Once users update, they can share the new content on their social media and others can comment on them, or share it with others.
A majority of blogs today are mostly used by users to serve as their online diary. Users would write a blog entry which talks about news, information, opinions and other related content in any language they prefer. Once they publish their blog post, their readers would be notified and they can comment on it.
WordPress Up Close
For new users hoping to make their first website, you are spoilt for choice with regards to which blogging service can help you create and host your blog. However, out of all these blogging services, WordPress is a favorite amongst bloggers and website owners alike.
When users sign up for WordPress, they would automatically get a free blog which is already pre-loaded with the basic things needed for a blog. Users can then modify the blog to fit their preferences like changing the templates, plug-ins, widgets and other website tools. Should there be any problems with the website, users can simply visit the support and development community to see troubleshooting tips from fellow users and other updates to the site.
WordPress also offers its content management system software for free, enabling users to set up their own WordPress blogs on their chosen hosting site.
Setting Up the Blog
Once you and your child have decided to create a blog for them to practice the Malay language (or any other language they are working on) and use for their school work, here are the steps you should follow to get the blog up and running!
Step 1: Shared Hosting
If you want the blog to be your child’s website to be the one they will stick to for a long time, you can get them their own domain name and a hosting plan. Having a self-hosted website will permit the user to adjust their respective website in whatever way they want without worrying about the limitations all free blogs have.
Domain names usually cost around $10, but there are sites selling domain names for a cheaper price. Meanwhile, hosting plans start at $10 per month and it can be upgraded depending on the site’s space and bandwidth requirement.
For beginners, DreamHost’s hosting plans are recommended because you only need to click one button to get WordPress installed in the server. They also sell domain names in the site and if you purchase a hosting plan with them, you can avail a free domain name which you can pay after a year.
Step 2: Install WordPress
When you sign up with WordPress directly at WordPress.com, your child’s domain name will look something like this: http://example.wordpress.com.
The blog can then be modified and updated directly through WordPress.com and you do not have to install anything to get it to work.
If you do not want the domain name to look like this and you opted for a shared hosting package for your child, you can download the open source platform that contains WordPress and install it on your site’s server. However, if you are not tech-savvy, your web host can do the installation for you. In the case of DreamHost, they have a 1-click install service where they can install the platform for you without doing anything.
Step 3: Install a Theme
Once the platform is installed on the server, it is time to modify the blog.
To change the layout or theme of your WordPress blog, simply go to your site’s Dashboard and click the menu that says “Appearance.” Once there, you will be able to see a short list of pre-installed themes that are free to use. If the blog is hosted through WordPress.com, you have the option to buy premium layouts from their gallery.
If the blog is self-hosted, you can select one of the pre-installed themes included in the platform or purchase from various WordPress theme makers or communities online. Premium themes from these makers can start from $5 to $100 depending on the features included with the layout.
However, it is important to take note that themes can control the blog’s homepage appearance so constant monitoring is required while modifying the blog to ensure it looks the exact way your child wants it to look like.
Step 4: Create Pages
Before your child can start updating the blog with their content, it is important that the site comes with pages where readers can know more about your child’s site.
To create a page, go to the site’s Dashboard and click the “+New” menu and select Page.
Some pages you can add for your child’s blog are the “About Me” page, where a short profile of your child is included, a “Contact Me” where readers can reach out to your child about their content, and a “Links” page where they can link their fellow classmate’s websites.
When writing the content of these pages, you can write them in the Malay language so the readers know your child is practicing the language through the blog. Your child can also read these pages on their own as practice and modify it later on.
Step 5: Create Post
Once everything is complete, your child can now start writing.
To begin, your child simply has to click “+New” and select Post. They would then be led to the text editor where they can type the content and once they are done, simply press “Publish”.
Of course, you need to remind your child that they should practice writing their post in Malay so they can practice what they learned in their Malay language class. When their post is published, their teachers can look into the blog and see their progress. If they see anything wrong with the post, your child’s teachers can simply comment on the post.
Final thoughts
When it comes to practicing a new language, regularly writing in the language can help greatly since it challenges the student to write their ideas in the language they are trying to pick up.
While writing may not come naturally to some, practicing through short blog entries can help immensely since the readers can help the student correct their errors.
As they blog, your child will be able to get used to the new language they are working on and pick it up easier than just listening to their lessons. Who knows, your child may even continue with their blog even after their classes and make it a new hobby for them to practice.
So, help your child set up their blog today and see how it can help them apply the lessons they are learning from school.
Learning a new language can be tough, here are some articles to help your child:
5 Foreign Languages Singapore Kids Should Learn
8 Ways To Prepare Young Students For Singapore Primary 1 Mandarin Mother Tongue
